Why Proper Fitting Makes Hearing Aids Work Better
Hearing aids might be powerful tools, but they depend on other factors

Hearing aids might be powerful tools, but they depend on other factors
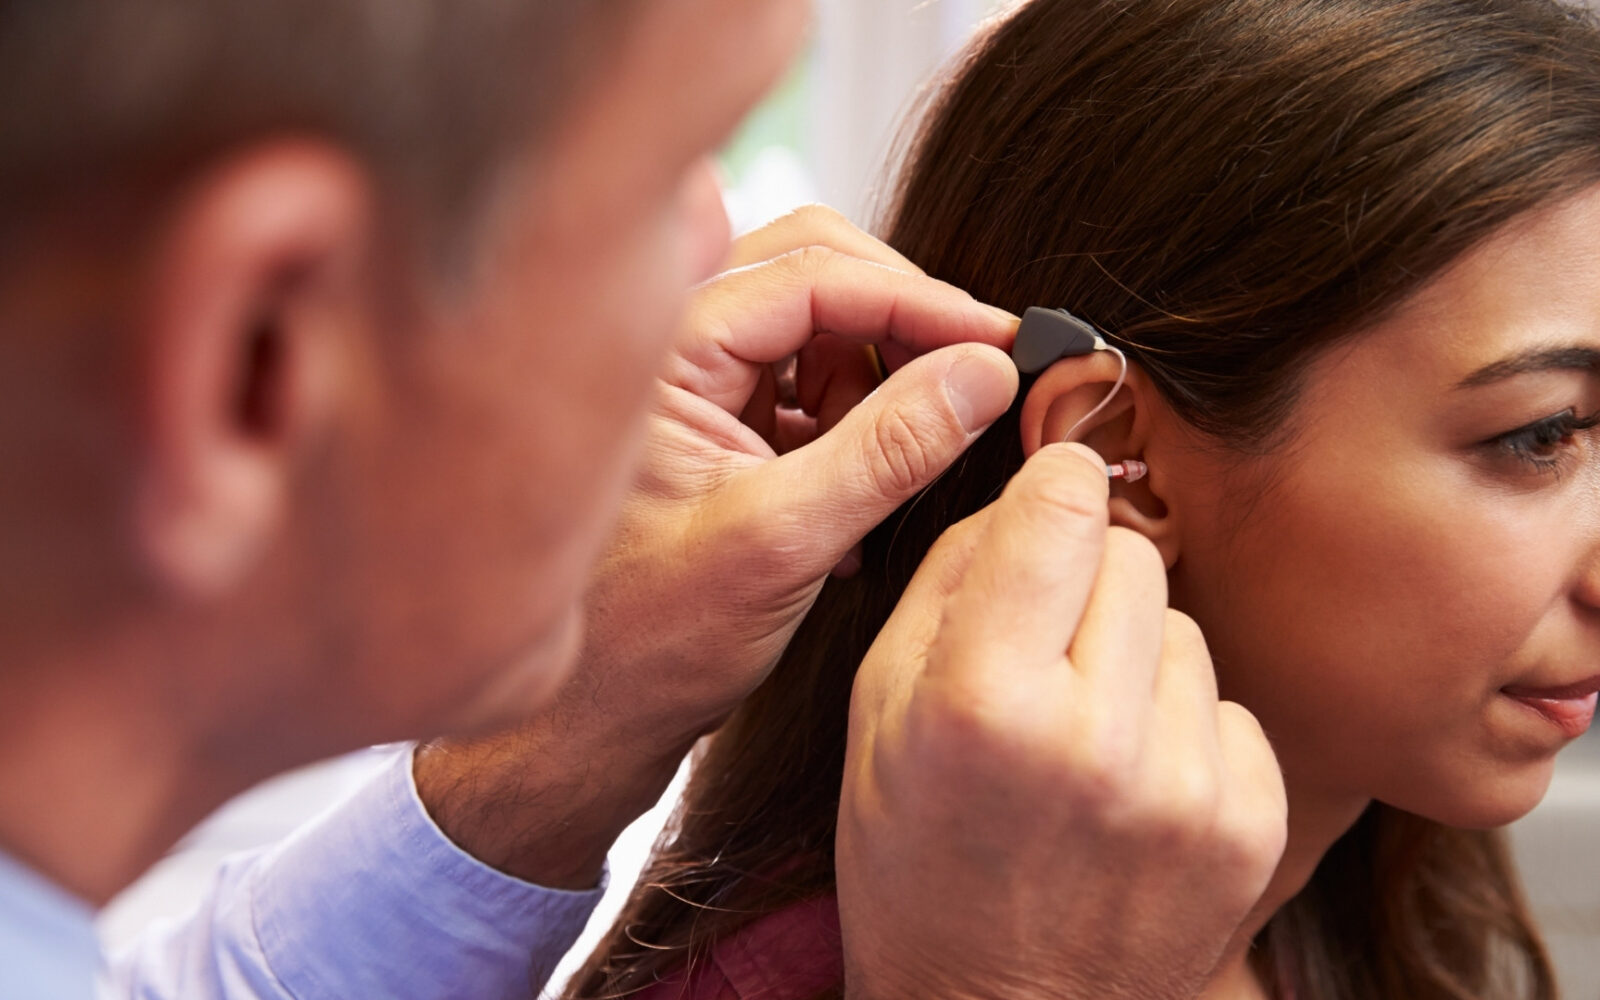
For hearing aids to be effective, one needs to get the right earmolds.

Although it rarely receives the recognition it merits, earwax is important