Regular cleaning of hearing aids helps prevent damage and ensures the best sound quality possible. Earwax buildup and dirt can block the microphone and receiver. Over time, this can result in muffled sound or device failure.

Gather the Necessary Tools

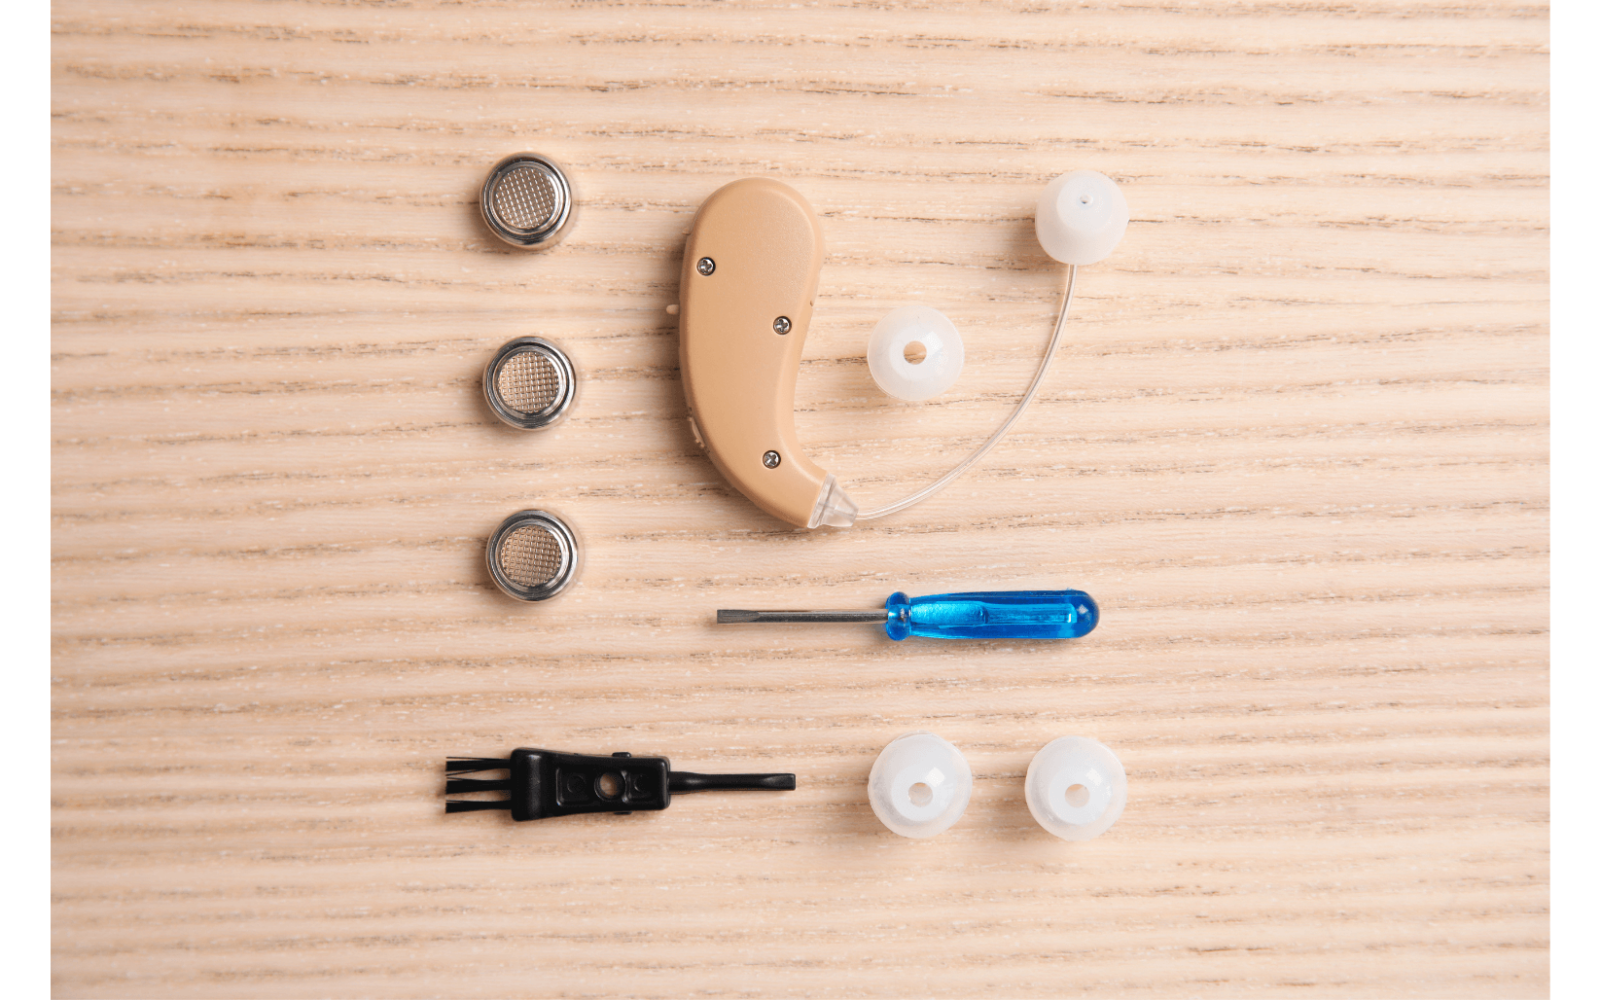
Before cleaning the hearing aids, it’s essential to gather all of the required tools. Here’s what is needed:

  • A soft, dry cloth
  • A hearing aid brush
  • A wax pick
  • A multi-tool with a cleaning wire (if available)

Cleaning Behind-the-Ear (BTE) Hearing Aids

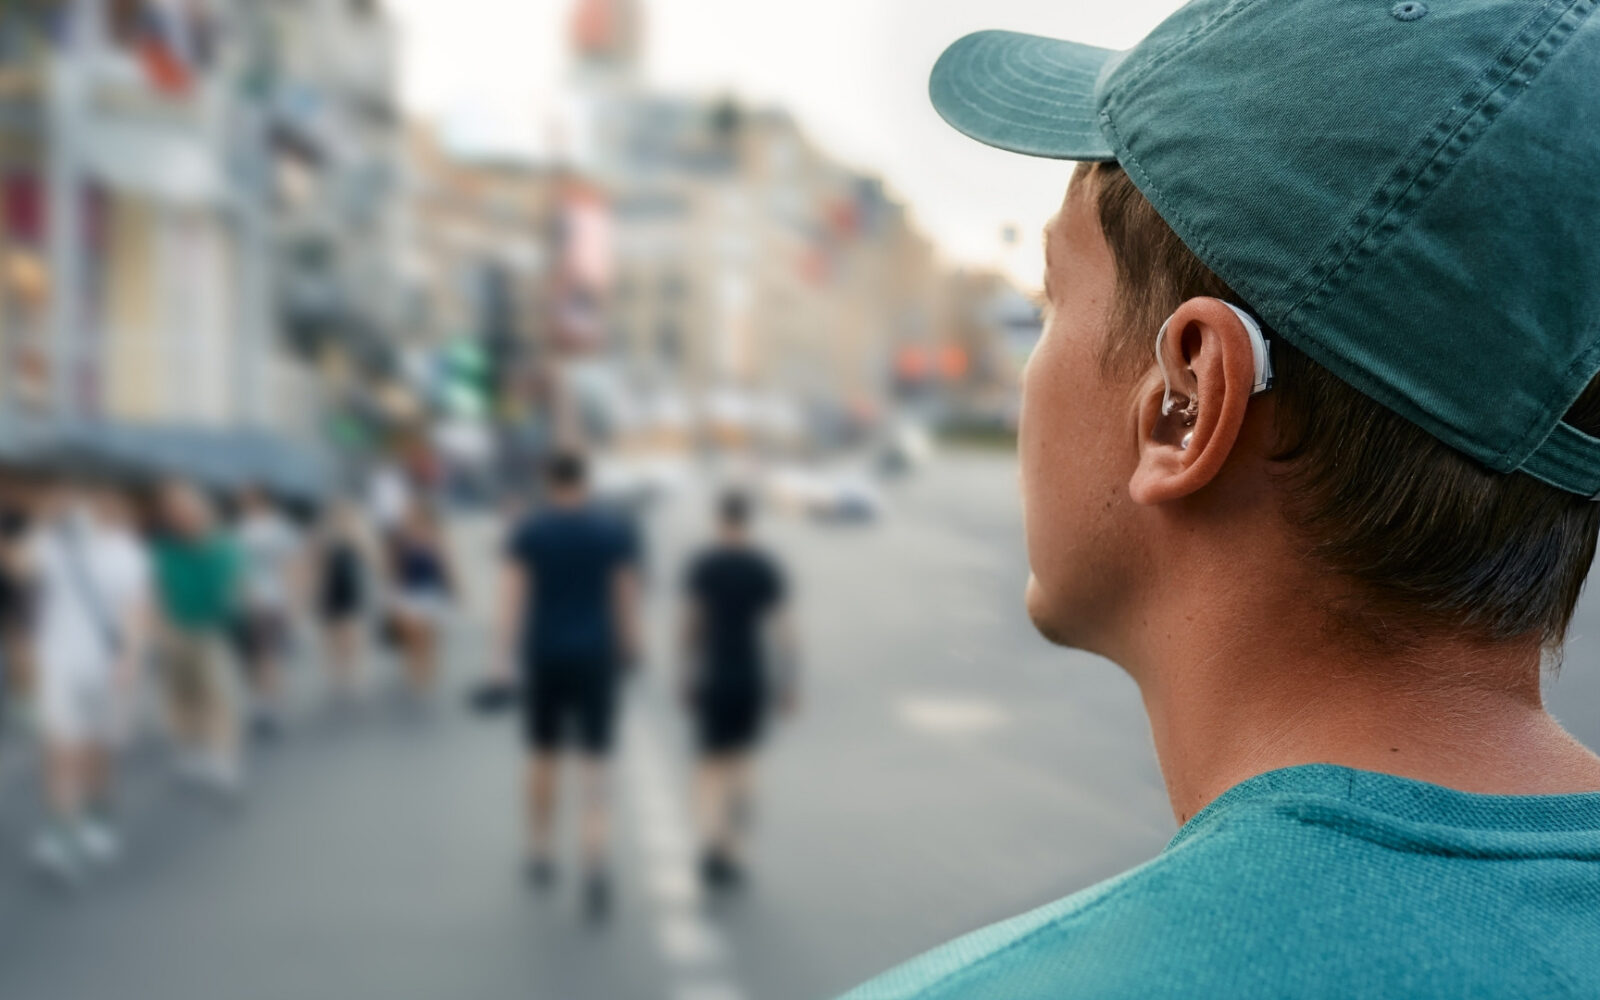
BTE hearing aids are popular because of their durability and larger size, which makes them easier to handle. Following these steps will ensure proper cleaning:

  1. Remove the Earmold: First, detach the earmold from the hook or tubing.
  2. Clean the Earmold: Warm soapy water can be used to clean the earmold. Rinse thoroughly, and let it dry completely before reattaching it. Never use alcohol on the earmold, as it can damage the material.
  3. Cleaning the Hearing Aid: Use a dry cloth to wipe the outer casing of the hearing aid. Subsequently, use a small brush or wax pick to gently clean around the microphones and receiver.

Cleaning In-the-Ear (ITE) Hearing Aids

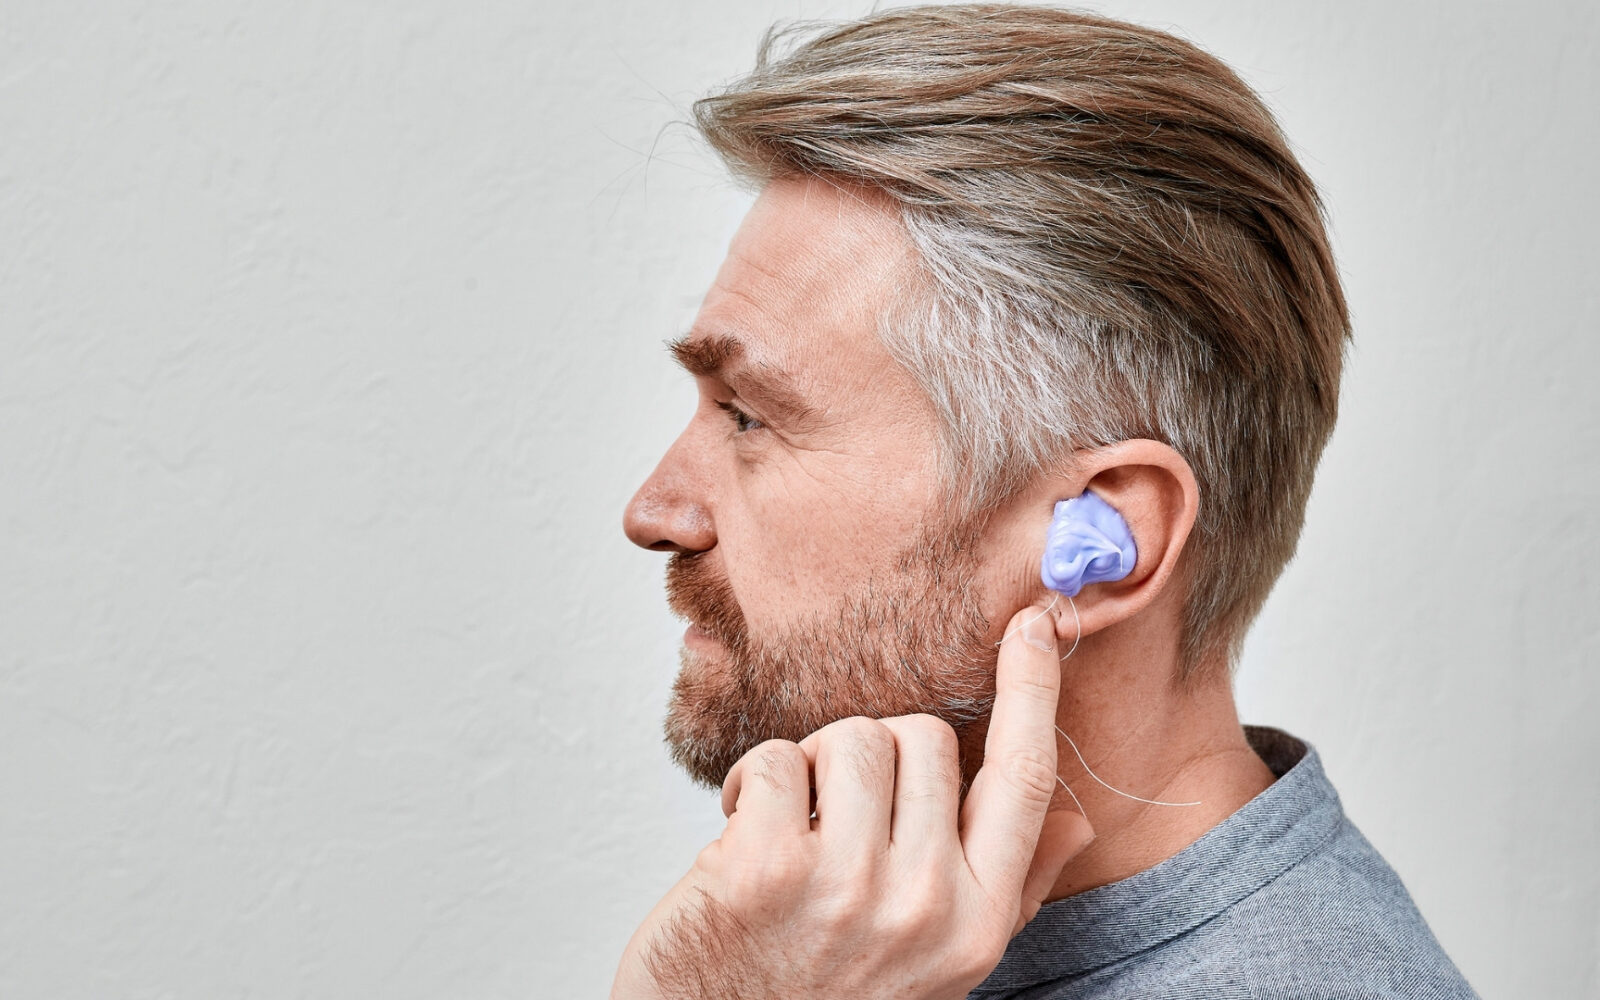
ITE hearing aids fit entirely inside the ear and require a different cleaning method:

  1. Wipe the Device: Begin by wiping the hearing aid with a soft, dry cloth to remove any visible dirt or debris.
  2. Clean Receiver and Microphone: Utilize a hearing aid brush for cleaning around the receiver and microphone ports. A multi-tool can assist in reaching small areas.
  3. Check for Blockages: Regularly inspect the wax guard. If there’s a blockage, replace the guard following the manufacturer’s instructions.

Daily Maintenance Tips

Daily care can significantly extend the life of a hearing aid. Consider the following suggestions:

  1. Wipe Down Nightly: Every night, wipe the hearing aids with a dry cloth to remove any moisture and earwax.
  2. Regular Battery Checks: Remove the batteries at night to prevent corrosion and extend their life. Also, check for any debris around the battery compartment.
  3. Store Properly: Store the hearing aids in a dry, cool place when not in use. A hearing aid dehumidifier can also be beneficial.

Professional Cleaning

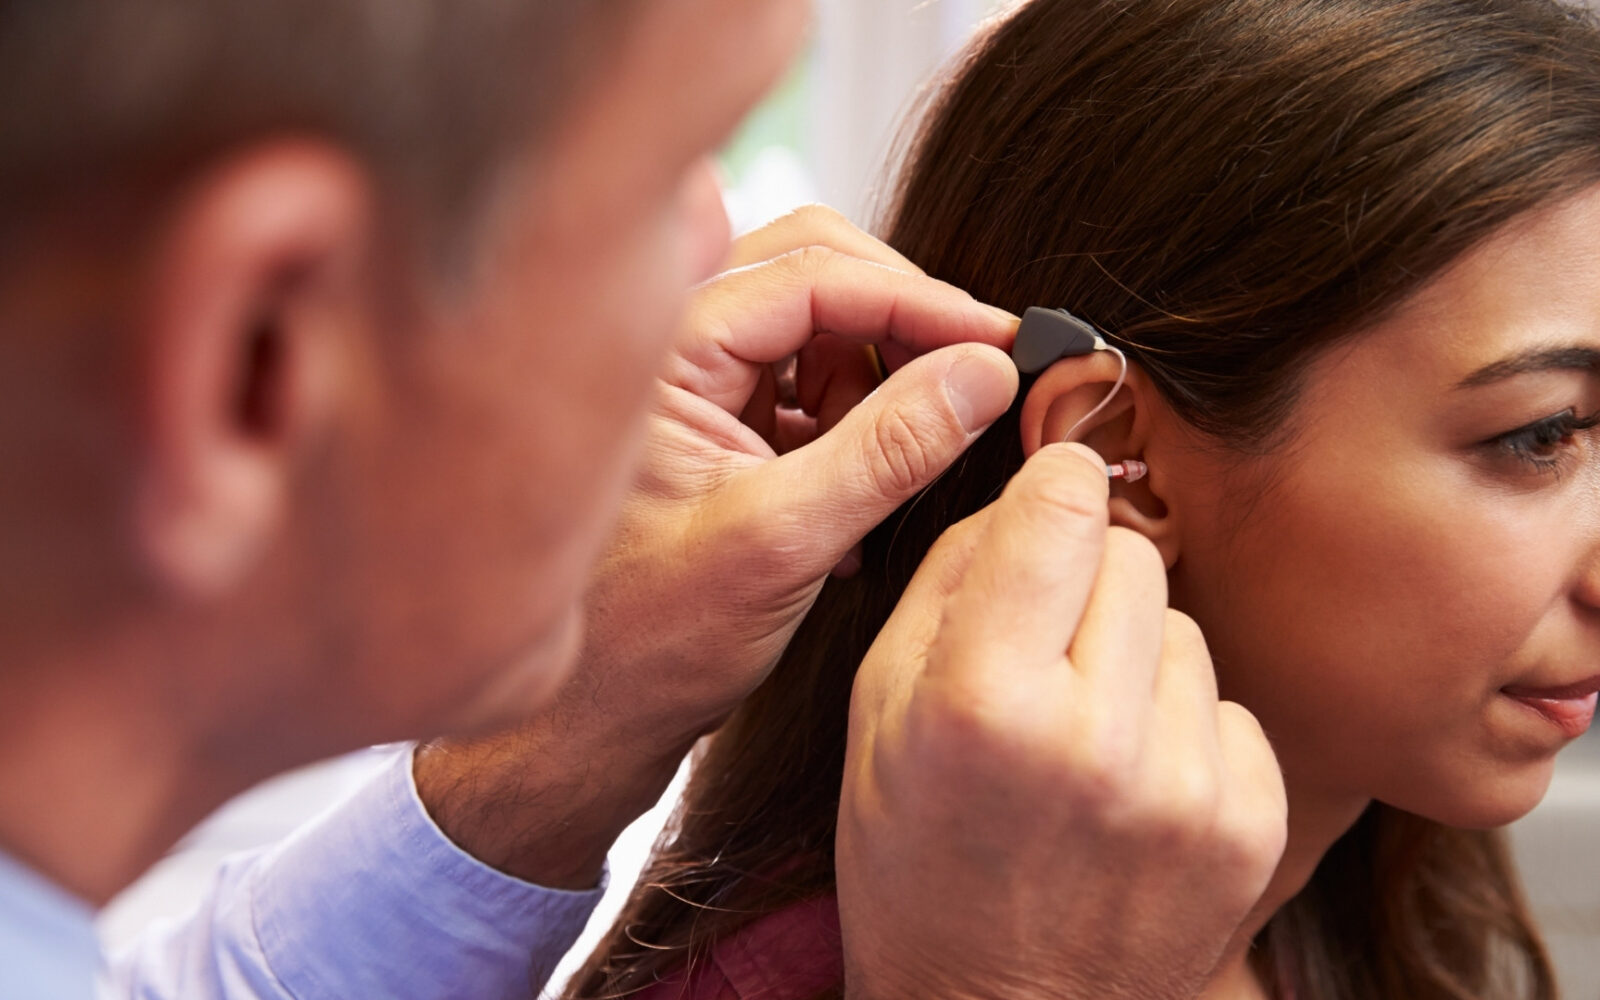
While at-home cleaning is essential, professional cleaning is equally important. At least twice a year, visit a hearing health professional for a thorough cleaning. They can access areas that are hard to reach with at-home tools and solutions.

Solving Common Issues

Sometimes hearing aids may not work properly even after cleaning. Troubleshooting these common problems might help:

  1. No Sound: If no sound is coming from the hearing aid, check if it’s turned on and the volume is correctly adjusted. Also, ensure that there’s no blockage in the receiver.
  2. Feedback or Whistling: This may occur if the earmold is loose or if there is excessive wax. Refit the earmold and ensure that it’s clean.
  3. Sound is Distorted: Check the microphone and receiver ports for debris. Replace the batteries if the problem persists.

Proper cleaning and maintenance of your hearing aids ensure optimal performance and longevity. Regular at-home cleaning, combined with periodic professional maintenance, helps in keeping these essential devices in the best condition. Always refer to the manufacturer’s guidelines for specific care instructions. Contact us today!